
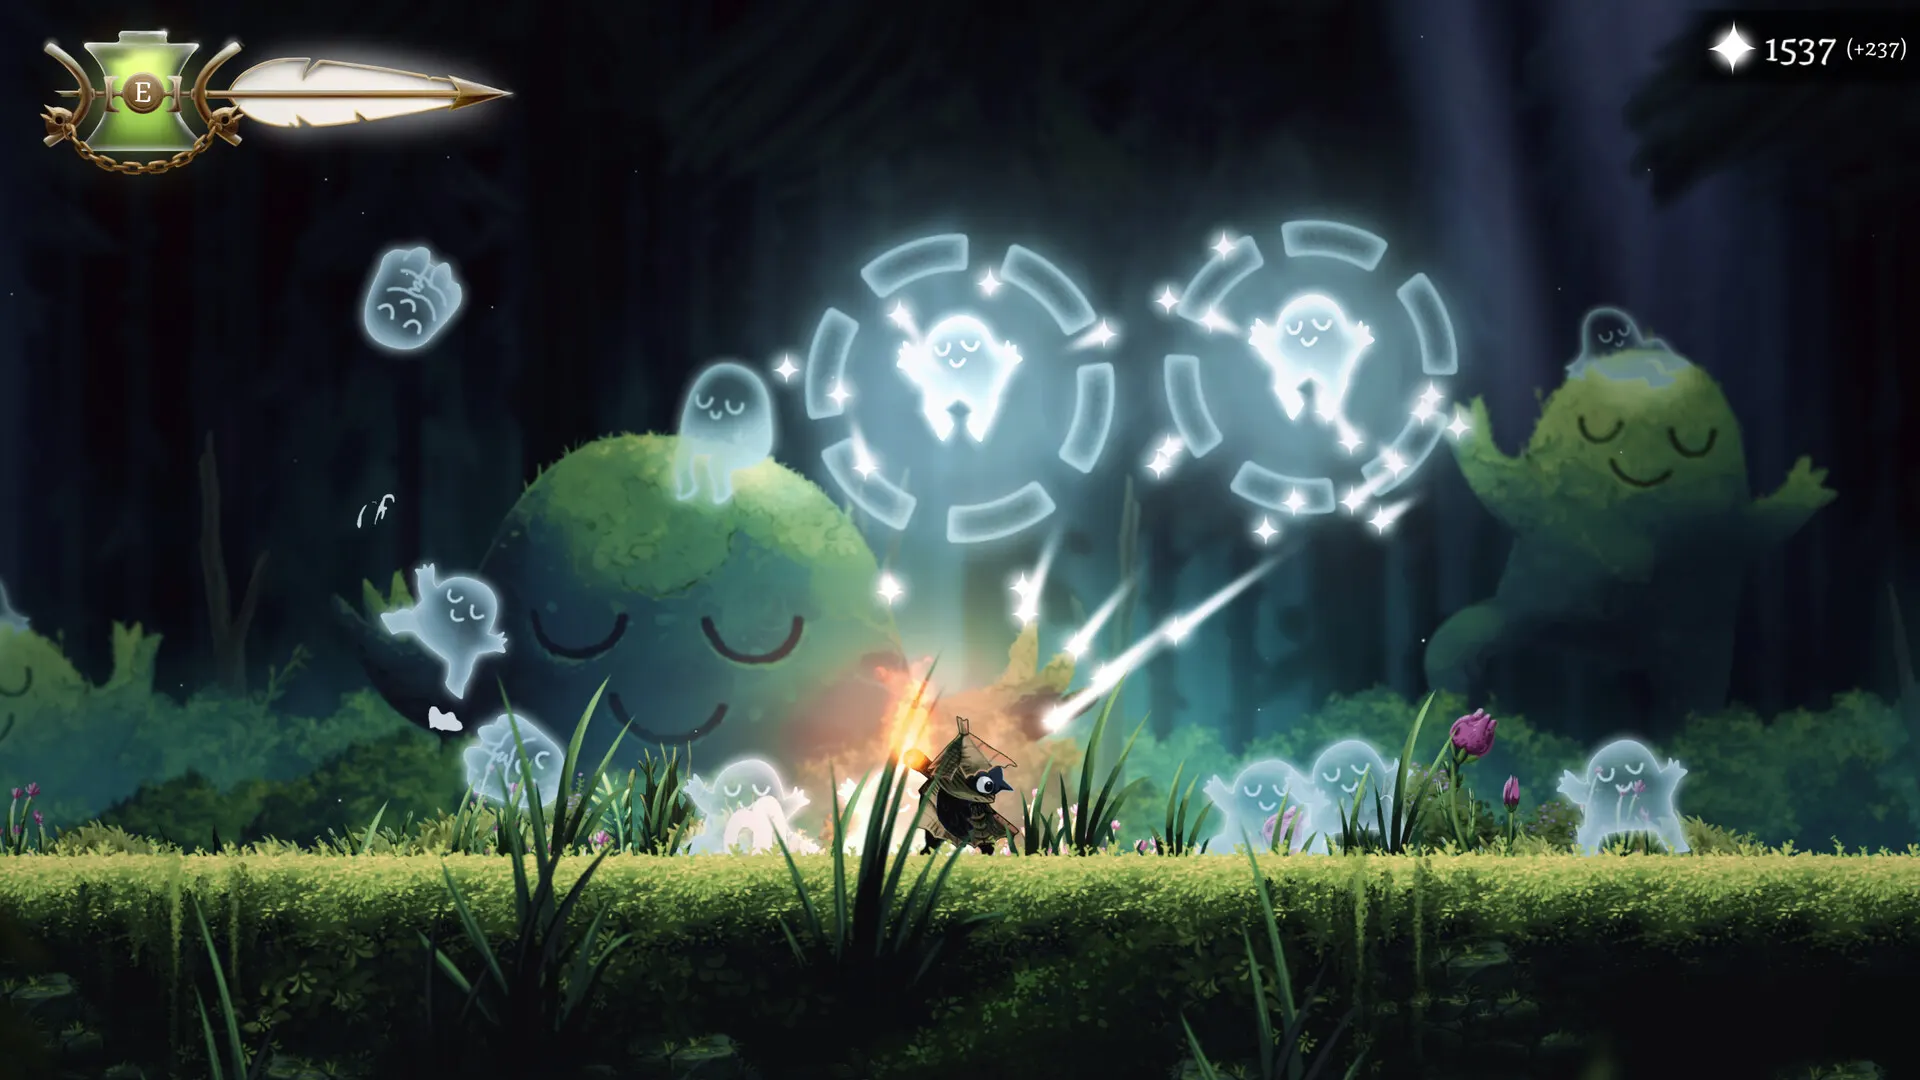
The first half of Well Dweller is effectively linear: Night Garden, Hunter's Cabin, The Bog, then The Drains. What is not obvious is which blocked path is worth returning to, which upgrade opens which wall, and which of the tempting side routes is a later-game job.
This page walks the four regions in order, picks up the abilities each one hands over, and flags the dead ends that waste the most time. For the shape of the whole game rather than the steps, see Well Dweller walkthrough: progression order.
Night Garden and Hunter's Cabin walkthrough
The opening of Well Dweller looks wider than it is. Glimmer starts with a small jump, no abilities and a lot of visible ledges that cannot be reached yet - and the game expects you to ignore most of them until much later.
This page is the order that actually works, plus the specific things the opening teaches you that the rest of the game depends on.
Step by step
- Cross Night Garden by following reachable rooms out of the well. Your jump is deliberately short at this point, so treat anything that needs extra height as a later job.
- Pick up the first Oil Vial and learn the healing timing. Healing is a check, not a button: hold the heal input and release when the moving marker overlaps the lit section. A successful relight restores health and briefly boosts attack strength. Oil Vials refill at safe points, which is why they are a resource rather than a free heal.
- Defeat The Groundskeeper at the end of the garden. Save at the tent first and go right to trigger it - full patterns are on Well Dweller Groundskeeper boss guide.
- Enter the Hunter's Cabin. The Hunter is asleep when you first walk in.
- Help Looter. Two things happen here: buying an item from him to lighten his bag, and picking up the Flaming Vessel. It is not single-use - normal attacks recharge it, a throw produces a heavy explosion, and you can strike the airborne bottle to redirect it toward an enemy.
- Get Slingshot from the ability egg. It launches the matchstick so you can jump from it for extra height. It is not a true double jump: some early walls stay too high even after you have it.
- Take the Hunter's Locket from a puzzle section deeper inside the cabin if you want it. It widens the Oil Vial timing window and costs 4 Trinket Slots, so it competes with damage trinkets early.
- Take the berries from the Hunter's meal and bring them home to Mother. This ends the food objective.
- Survive the Hunter escape. The Hunter appears immediately after the food delivery and the sequence becomes a chase. Do not stop to test the Flaming Vessel on him or turn it into a boss fight - forward movement is the answer.
- Head toward The Bog. Leave Night Garden's blocked paths alone; the next region gives you the ability that makes them worth revisiting.
What you should not try to finish yet
- High Night Garden ledges and locked passages. They are placed around the critical path to look tempting. The movement for them arrives later.
- Everything the Slingshot seems to open. Slingshot opens part of the cabin, not the world. If a wall still looks too high, that is the game telling you it wants a later upgrade.
- Any combat you can walk around. One early optional combat challenge pays 100 Glimmer if you clear it as a no-damage death match - it does not block the food objective, so skip it if it costs you a death.
Achievements and rewards in this stretch
| Achievement | Trigger |
|---|---|
| Dark Garden | Defeat The Groundskeeper |
| Snatched Up | Meet the Hunter |
| A Warm File | Go camping with Ilda (happens in The Bog, not the cabin) |
The 100 Glimmer challenge and the Hunter's Locket are optional and do not gate any progression.
Where this fits
This is stage 1 and 2 of Well Dweller walkthrough: progression order. The next region, with Ilda, the castle gate and the boss that hands over Climb, is Well Dweller The Bog walkthrough.
The Bog walkthrough
The Bog is where Well Dweller stops being linear. You get a map station, a look at the castle gate you cannot pass yet, and the two upgrades - Climb and Tent Travel - that make the rest of the kingdom navigable.
The order below keeps you on the critical path and out of the two dead ends that waste the most time here.
Step by step
- Follow reachable Bog routes until you meet Ilda, who is gathering firewood. Follow her to camp and light the wood for her; that starts the camping sequence and rewards the A Warm File achievement.
- Pick up the map station. Ilda later appears at the tent with a new map station that tracks major destinations and, importantly, missed items.
- Reach the base of Queen's Castle and use the intercom at the gate. Entry requires 7 Golden Feathers. Nothing in the Bog changes that number - no switch, no nearby combat room, no side objective.
- Mark the gate and keep going. Continue through the lower Bog route toward The Swarm.
- Defeat The Swarm, then collect the ability egg to learn Climb. Hold jump while pressing against a wall to cling and climb; the wing-shaped stamina meter drains as you go and refills on solid ground. Tall shafts are built for alternating between opposite walls.
- Use the new wall routes to return toward Night Garden. At the tent near Night Garden you unlock Tent Travel, which lets you select any discovered safe tent from the map.
- Head for The Drains. That is the next region, and it is where Wind Ride lives - not here.
If the Swarm is giving you trouble, its attack list and the skull phase are on Well Dweller Swarm boss guide.
Trinkets in The Bog
Hair Pin is an early pickup here: after going 8 seconds without attacking, your next attack deals double damage. It costs 4 slots and is not required for progression, but it is a reasonable early damage option if your playstyle is patient. The full catalog is on Well Dweller trinket database: all 32 effects and slots.
The two dead ends worth knowing about
- Golden gates. These are the smaller locked routes, and they are a different system from Queen's Castle. The key arrives later through another objective, so searching adjacent Bog rooms for a way through is wasted effort.
- High exits that still need better movement. After Climb, a few shafts and side passages still ask for something you do not have. If there is no sensible landing, it is a later job - Tent Travel makes coming back cheap.
One mechanical caveat worth internalising: the dash has to start on the ground. Landing first makes both the gap and the attack pattern more manageable in the Bog's tighter combat rooms.
What you leave with
| Upgrade | Where it comes from | Why it matters |
|---|---|---|
| Climb | Ability egg after The Swarm | Opens vertical shafts, the core of mid-game traversal |
| Tent Travel | Tent near Night Garden, after Climb | Makes backtracking cheap for the rest of the run |
| Map station | Ilda's camp | Tracks major destinations and missed items |
| Hair Pin | Bog pickup | Optional double-damage trinket |
This is stage 3 of Well Dweller walkthrough: progression order. Next is Well Dweller The Drains walkthrough.
The Drains walkthrough
The Drains is the most structurally confusing region in Well Dweller, mostly because of one pit that looks crossable and is not. It runs on a clean loop - Wind Ride, then three Elevator Parts, then the lift, then the boss - with a lot of optional verticality hanging off it.
Step by step
- Enter The Drains after finishing The Bog with Climb and Tent Travel. Early rooms are vertical shafts with strong air currents.
- Unlock Wind Ride. Hold jump while standing in a wind draft to ride it upward. It only works where a draft exists - stepping out of the current ends the lift, so this is not free flight.
- Meet Willow, who is looking for friends who disappeared after following candied spider eggs. His route and the frog memorials (including Eagle, with plaques for missing frogs Pip and Sprig) are landmarks, not puzzles you have to solve before progressing.
- At the split, take the upper path first. Past a large swinging mace and candied spider eggs, climb until you pick up the first Elevator Part. The objective updates to 1/3 - find two more.
- Grab Melted Candle while you are here. It is in the same part of the route and makes Glimmer invincible for 2 seconds after healing - one of the more forgiving trinkets in the game. Optional for progression.
- Find the second part. From another branch, follow a candied spider egg that moves upward into the upper route toward the memorial for Eagle. The counter reads 2/3.
- Leave the pit alone. Near the third part's area there is a pit that looks crossable with Climb, Slingshot and matchstick placement. The geometry does not allow a clean crossing with the tools you have. Backtrack instead.
- Take the far-left route for the third part. Move all the way left through the regular platform path and take the last unexplored route that drops downward. Counter reads 3/3.
- Save before riding the elevator if your Oil Vials are low - the lift takes you straight into the boss and does not let you leave mid-descent.
- Ride down and beat Lady of the Drains for a Golden Feather. Patterns and the lightning tell are on Well Dweller Lady of the Drains boss guide.
Three things that do not block you
- The locked golden gate near the first part. Not required for the elevator.
- The misleading pit near the third part. It is a later-job route, not a skill check.
- The high routes above the main path. They stay out of reach after the boss too, and missing them does not stop progression.
Tent Travel is what makes all three cheap to revisit once you have later movement upgrades - which is why the region's optional content is worth deferring rather than grinding now.
The elevator and the boss it gates
The lift will not move below 3/3. There is no bypass switch and no partial activation at 1/3 or 2/3, and the elevator sits directly to the left of the tent in the centre of the level. Riding it down deposits you into the Lady of the Drains arena; beating her yields one of the seven Golden Feathers. If you are short a part, the route layers are detailed on Well Dweller Elevator Parts: all 3 locations.
What you leave with
| Upgrade or item | Where it comes from |
|---|---|
| Wind Ride | Wind draft in the early Drains rooms |
| Melted Candle | Upper route with the first Elevator Part |
| 3 Elevator Parts | Two upper layers plus the far-left lower path |
| Lady of the Drains' Golden Feather | Elevator boss fight |
| Water Vessel access | Later region content, tracked by the Into the Deep achievement |
This is stage 4 of Well Dweller walkthrough: progression order. After the boss, the game opens into parallel family and Feather objectives rather than another forced region.
Sources
| What this page states | Where it comes from | Status |
|---|---|---|
| Night Garden and Hunter's Cabin - Objective order, healing timing, Flaming Vessel and Slingshot behaviour, Hunter's Locket slot cost, escape advice | whisperofthehouse.com Night Garden & Hunter's Cabin walkthrough | Source-linked; not tested here |
| Night Garden and Hunter's Cabin - Groundskeeper location, tent save point, arena trigger | Gamer Social Club Groundskeeper guide and QuestDuo Night Garden walkthrough | Cross-checked |
| Night Garden and Hunter's Cabin - Achievement names | NiaMeowDB achievements | Cross-checked |
| The Bog - Objective order, Ilda and the map station, castle gate requirement, Climb and Tent Travel mechanics | whisperofthehouse.com The Bog walkthrough | Source-linked; not tested here |
| The Bog - Hair Pin effect and the 8-second condition | whisperofthehouse.com Bog walkthrough and NiaMeowDB trinket catalog | Cross-checked |
| The Bog - Swarm encounter position, related achievements | Gamer Social Club Swarm guide and QuestDuo The Bog walkthrough | Cross-checked |
| The Bog - Golden gates as a separate system from the castle gate | whisperofthehouse.com Bog walkthrough | Source-linked |
| The Drains - Region order, Wind Ride input and limits, part-by-part route layers, the misleading pit, the golden gate caveat | whisperofthehouse.com The Drains walkthrough | Source-linked; not tested here |
| The Drains - Elevator position, 3-part requirement, arena on the descending lift | Gamer Social Club Lady of the Drains guide and QuestDuo The Drains walkthrough | Cross-checked |
| The Drains - Melted Candle effect (2 seconds of invincibility after healing) | whisperofthehouse.com and NiaMeowDB trinket catalog | Cross-checked |
| The Drains - Willow, Eagle memorial, Pip and Sprig plaques | whisperofthehouse.com The Drains walkthrough | Source-linked |
Still unpublished:
- Night Garden and Hunter's Cabin: Not yet checked on this site: the exact location of the optional 100 Glimmer challenge, and whether the Hunter's Locket puzzle can be solved before the food delivery. Both are reported without location detail.
- The Bog: Not yet checked on this site: how many golden gates exist in total, and which objective provides the key. Both are reported without specifics.
- The Drains: Not yet checked on this site: the room-level coordinates for each Elevator Part, and whether the far-left route can be reached before the other two parts. We publish route layers rather than guessed coordinates.