
Well Dweller looks open-ended about two hours in, then floods you with parallel objectives: family members to rescue, Golden Feather events, movement upgrades sitting behind bosses, and a castle gate that checks one specific number. This page is the order those objectives resolve in, so you stop wandering.
The short version, then the reasoning behind each step.
The order at a glance
| Stage | Region | What you leave with | What holds you here |
|---|---|---|---|
| 1 | Night Garden | Oil Vials, healing rhythm, Groundskeeper down | Straight line to the Cabin |
| 2 | Hunter's Cabin | Flaming Vessel, Slingshot, Hunter's Locket | Return the berries to Mother |
| 3 | The Bog | Ilda's map station, Climb, Tent Travel | The Swarm must die first |
| 4 | The Drains | Wind Ride, 3 Elevator Parts, Lady of the Drains | The lift needs 3 parts |
| 5 | Open kingdom | Family rescues, Feather events, upgrades | Optional, but feeds stage 6 |
| 6 | Queen's Castle | Silver Doll, the Queen, credits | Needs 7/7 Golden Feathers |
| 7 | Post-credits | Soar, 5 Spirit Fragments, Reunite the Flock | Same save file |
Stages 1-4 are effectively linear
Night Garden teaches the loop: light your matchstick, manage Oil Vials, kill the Groundskeeper at the end and enter the Hunter's Cabin. Nothing in this stretch is skippable and nothing here is missable.
Hunter's Cabin hands over the first real movement upgrade. Helping Looter gives you the Flaming Vessel, and the Slingshot arrives as the first ability that opens routes you could see but not reach. Take the berries from the Hunter's meal back to Mother; the Hunter showing up afterwards turns into an escape, not a fight.
The Bog is where the world starts branching. You meet Ilda and get access to her map station, and you can physically reach the Queen's Castle entrance long before the game lets you inside - the guard checks 7 Golden Feathers. Stay in the Bog until you kill The Swarm, because Climb and Tent Travel both come from that sequence, and Tent Travel is what makes backtracking cheap for the rest of the run.
The Drains adds Wind Ride and ends at a broken elevator. The lift stays dead until you hold 3 Elevator Parts; once it runs, it drops you onto Lady of the Drains and her Golden Feather.
If a route suddenly asks for movement you clearly do not have, stop pulling that thread. In the mid-game another active objective almost always hands over the ability you need.
Stage 5 is where the order stops mattering
After the Drains, four kinds of objective run in parallel:
- Family rescues - the siblings the Hunter took, tracked from Mother's objectives.
- Golden Feather events - seven of them, described on Well Dweller Golden Feathers: all 7 sources.
- Movement upgrades - Climb, Wind Ride, and later abilities that retroactively open old ledges.
- Optional collectibles - Trinkets, Slots, Spirits, story pages. None of them gate the castle.
The middle-game order genuinely varies between playthroughs, and no source we checked agrees on a fixed sequence for these. What is fixed is the number the castle checks: 7/7. Keep an eye on that counter and treat every Feather event as a priority, because it is the only thing between you and the endgame.
Stage 6: the castle and the Queen
Return to the gate with 7 Feathers and the guard steps aside. Across the castle you resolve the remaining family objectives, fight Silver Doll late in the area, then reach the Queen. Nothing forces you to clean up Trinkets, Spirits, Pages or upgrades before this fight - the castle is a story gate, not a completion gate.
Stage 7: the credits are not the end
Load the same save after the credits roll. A new route opens inside Queen's Castle and gives Glimmer Soar, then marks five hidden locations tied to Spirit Fragments. Clear all five and return to Night Garden to finish Reunite the Flock. The full sequence, plus what is still unconfirmed about the ending count, is on Well Dweller endings and the post-credits route.
After Soar, clean-up gets dramatically easier - which is why the 100% checklist is worth running at that point rather than earlier.
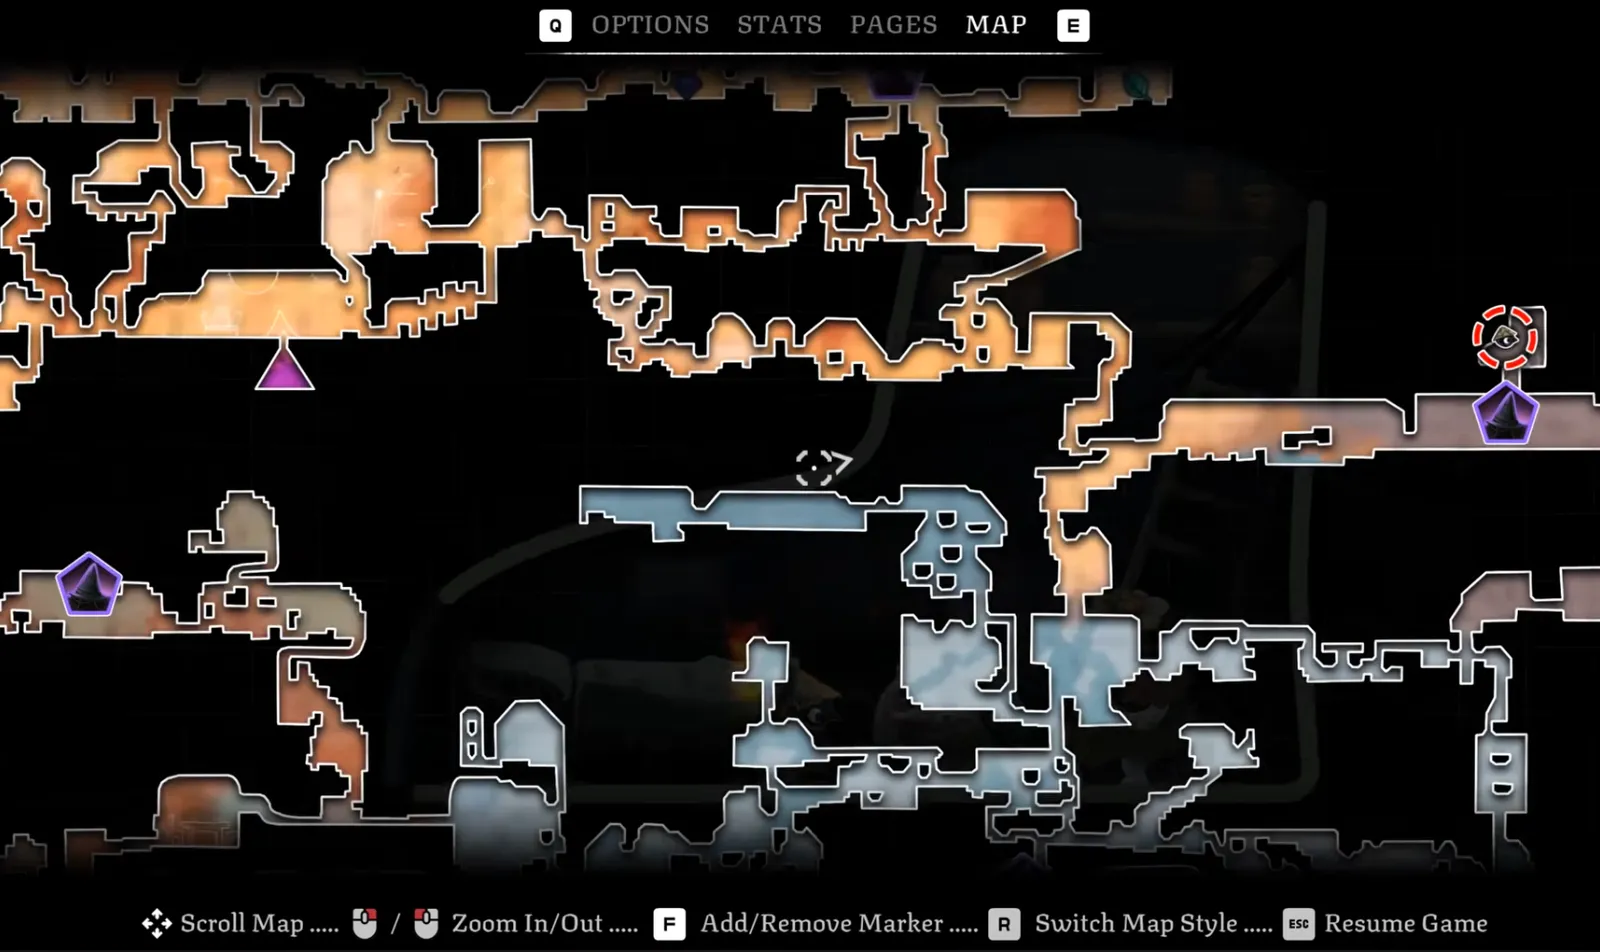
The map does most of the routing work for you
The map is unusually helpful for a metroidvania, and it changes how you should plan a route:
- Biomes are colour-coded with points of interest labelled automatically, two map styles (detailed and simplified) and a working zoom range.
- Every save tent is a fast-travel point, selectable straight from the map - which is why a dead end costs you very little.
- You can pay to pin your next story objective, and pay again to pin missed collectibles in rooms you have already visited.
- A mini map exists but is off by default. Reviewers recommend turning it on, since it shows where you have been and what you skipped.
Practically: keep some currency aside for map pins during a completion sweep, and use tents as your routing anchors instead of walking the same stretch twice.
Sources
| What this page states | Where it comes from | Status |
|---|---|---|
| Region order, ability unlocks, Feather and Elevator gates | whisperofthehouse.com Well Dweller guide, last updated September 24, 2026 | Cross-checked against the achievement list |
| Boss names, first/second/last placement | NiaMeowDB boss list and the published Xbox achievement list | Confirmed names only; middle-game boss order is not confirmed by any source |
| Release, platforms, single-player | Official Steam page (checked September 26, 2026) | Confirmed |
| Playtime estimate | Developer estimate via NiaMeowDB; completion guides | Reported, not tested here |
| Heal misses do not consume a vial; arenas run in waves with a hitless challenge; bosses are readable | I Dream of Indie Games review (youtube.com/watch?v=VKxoj6rQHnQ) and Metroidvania Guru review (youtube.com/watch?v=wjVBz0w1QKw) | Cross-checked |
| Map behaviour: colour-coded biomes, labelled POIs, two map styles, paid pins, fast travel from every tent | Metroidvania Guru review and the PoobyGaming 10-tips video | Cross-checked |
Not yet checked on this site: the exact region order of the mid-game, and whether any region opens earlier than the sources claim. We mark those as reported until a run is recorded.